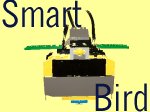
LEARNING WITH MINDSTORMS
Making Robot
|
With regard to
designing and building a robot as 'an object to think with', I had 'hatched'
a plan! Imagine an injured bird finding a way into a shed or garage
looking for refuge and feeling frightened in the strange environment.
What would it do? After a short brainstorming session with the children,
we agreed that the bird would most likely move from the open space to
be near a wall. We took this a step further and decided that the bird
would feel even safer if it got itself into a corner of the shed. ... And SMART BIRD was hatched. |
Smart Bird Hatching!
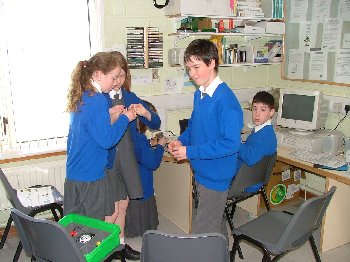
A group of children started construction in another room.
|
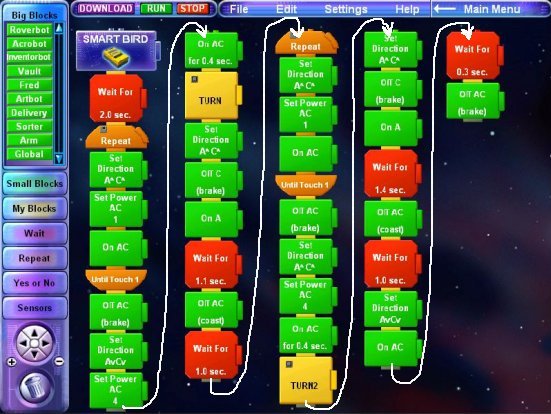
We
designed the SMART BIRD robot with one sensor (a touch sensor) to allow
it to stop on contact with an obstacle - in this case the wall - before
continuing its programmed manoeuvre. The touch sensor is employed twice
in the program to assist SMART BIRD in finding a safe corner.
|
|
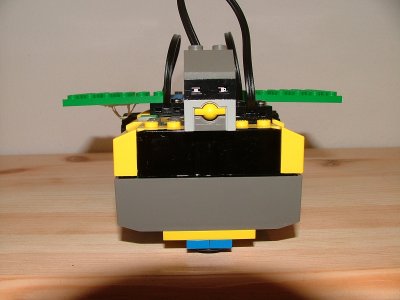
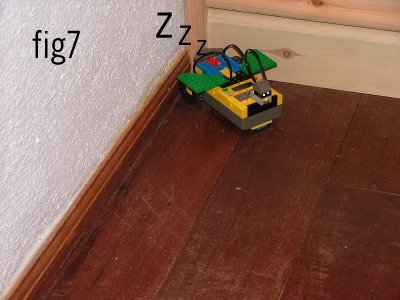
SMART
BIRD robot is basic in design. There is a simple chassis on which the
RCX and the two motors sit and two medium-sized rear wheels which are
appropriate for completing the programmed tasks. SMART BIRD also has a
small rounded lego piece which allows the RCX unit to move smoothly over
most surfaces. The touch sensor which, when looked at from the front,
successfully mimics SMART BIRD'S head including eyes and beak, is placed
so as to jut out past the RCX's front surface in order to make first contact
with the obstacle. Two short wings were added primarily for aesthetic
purposes. They were kept short so as not to hinder the turning movements.
|
Would our bird move?
|
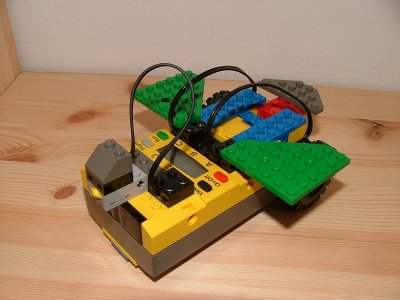
We
built and programmed SMART BIRD using a Lego Mindstorms kit with a few
extra bricks from my son's toybox! The SMART BIRD program contains one
long stack of commands condensed by the use of 2 'MY BLOCKS' , TURN and
TURN 2, for the two turning movements.
|
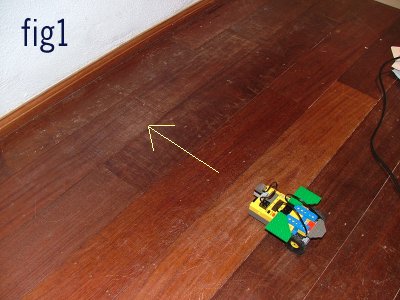
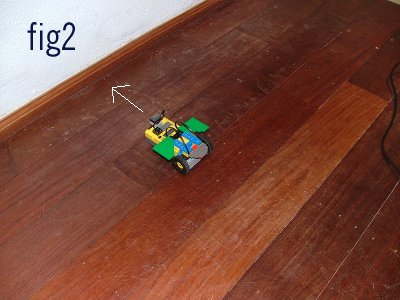
Et voilà!
Our bird was ready to fly...
...or crawl quietly into a corner.
Smart Bird in Action!
|
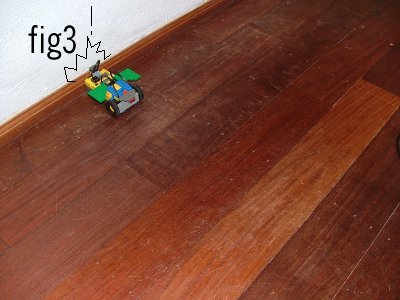
The
first portion of the stack commands SMART BIRD to move forward slowly
until it reaches the wall in front of it. The touch sensor is the first
piece to make contact and is thus activated causing SMART BIRD to stop.
|
|
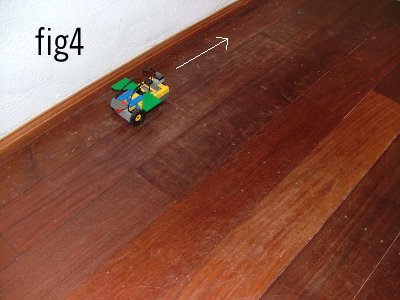
The
next sequence of command blocks makes SMART BIRD reverse slightly. The
correct balance between motor power and wait time helps to execute this
task effectively.
|
|
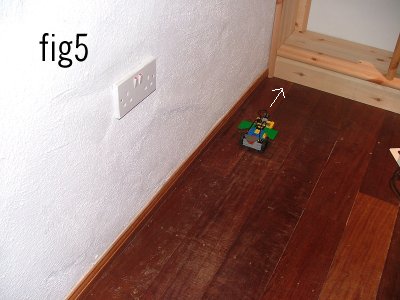
The
next section of the command chain (in a My Block called TURN) makes SMART
BIRD execute a 90 degree right turn.
|
|
The
next section of the program is a repeat of the initial forward, stop and
reverse requests executed at the beginning of the program.
|
|
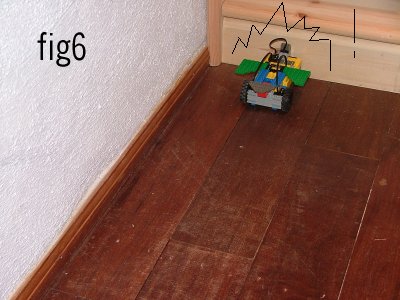
SMART
BIRD'S next turn is effected using a 'My Block' called TURN 2. This time
a right turn of approx 135 degrees is required so that SMART BIRD can
end up by reversing exactly into the corner. This is achieved by increasing
the value on the 'Wait for' small block from the 1.1 seconds used in the
90 degree turn to 1.4 secs for a 135 degree turn.
|
|
The
final section of this command stack effects a short reversing movement
by SMART BIRD before he comes to a standstill.
|
The Program
|
As
the program was rather long, I've exploded it into five chunks to enable
viewing on one screen. The course of the program is marked out by the
white arrows.
|
.jpg)
Here's the complete program stack minimised.